How I Henna My Hair with No Mess


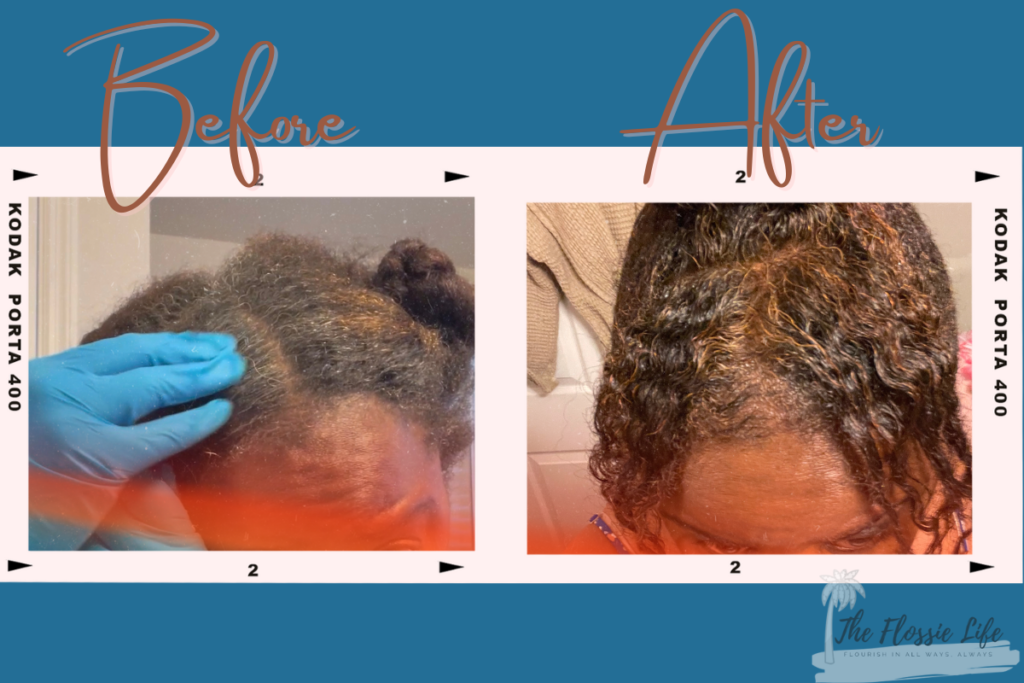
Back in the day, on the early natural online hair boards, all the girls were experimenting with protein treatments and moisture masks to make the most of our natural hair and get the best results. That is when I first learned about how to henna your hair. I’ve been applying henna to my hair off and on for over ten years. One of the main things that scared me and other people about henna is the mess that it can leave behind if you’re not careful. 

I’m going to share my routine with you. It’s not completely fail proof, but I don’t make nearly as much of a mess as when I first started doing henna treatments. I’ve broken the my regimen for how I henna my hair down into simple steps. I’ve also included the ingredients I use and a few pictures of when I applied henna to my hair as visual aides. Follow along if you’ve been thinking about trying this method on your hair. 

Getting Ready to Henna My Hair

When I’m getting ready to henna my hair, I make sure I have my supplies ready and time to get through the process without rushing.
For my henna mixture, I like to use 100% natural henna. I usually get it from my local Indian market or I order it from Amazon. To ensure a reliable outcome, it’s important to use 100% natural henna. Most of the henna you see in the hair color aisle at the beauty supply store is mixed with other ingredients. They mix the henna with different chemicals to create an array of colors. The problem with that is that you don’t know how their formulation will react to other processes you may do on your hair. So, stick to the natural stuff. It’s super cheap. 
For me, henna serves as a protein treatment that has the benefit of depositing a reddish color on my strands. After doing a treatment, my curls pop so much. I’ve been applying henna for about 20 years, almost the entire time I’ve been natural. When I was a kid, adults used to remark fondly about my sandy brown hair. It’s important to note here that the sand at our local beach was an orangey color. LOL It wasn’t like the white sand at the beaches where we live now.
I like to plan to henna my hair on a day when I know I have time to prepare and thoroughly clean up after. For me, that means usually a Friday night or Saturday. See below for the steps I follow for a completely easy henna application. Also, since the henna has to sit for a while for the color to develop and sit on my hair for a while to deposit that color, I like to have a large time block. 

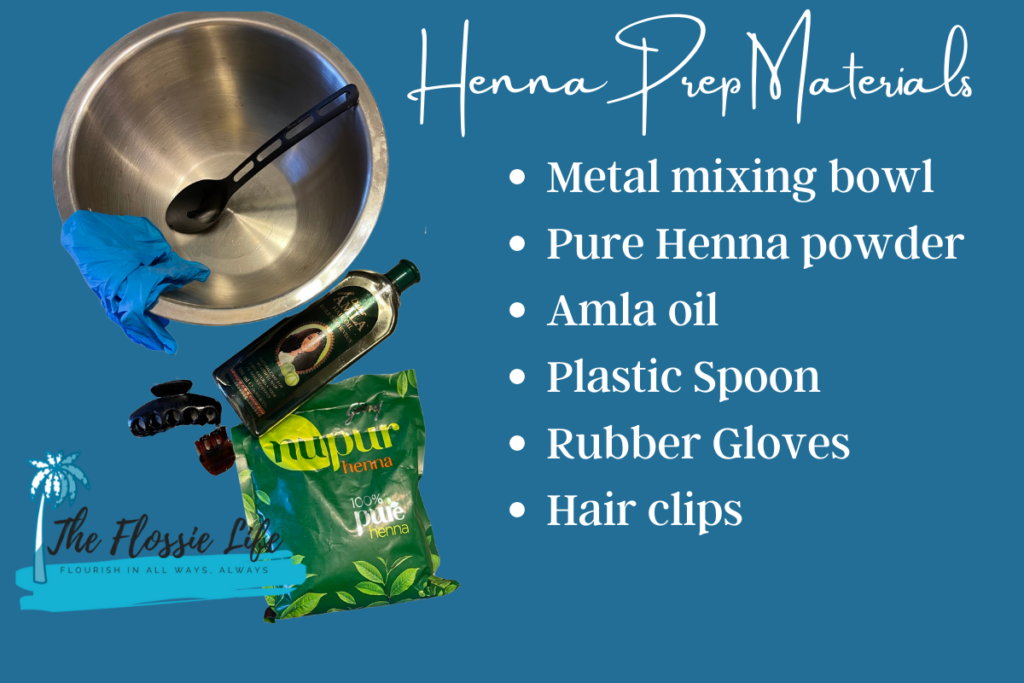
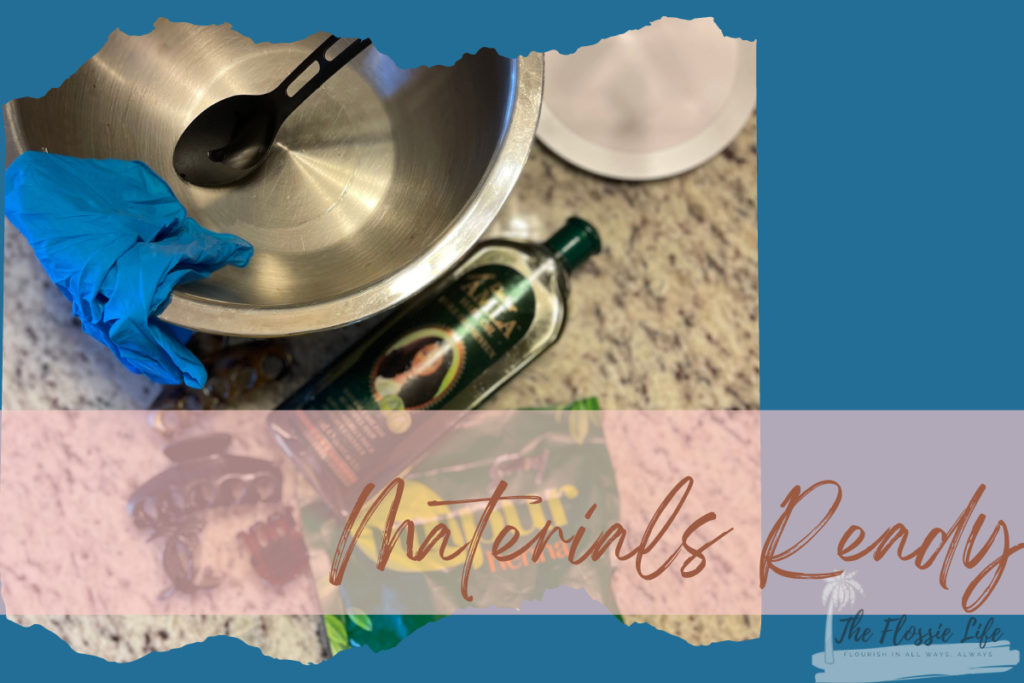
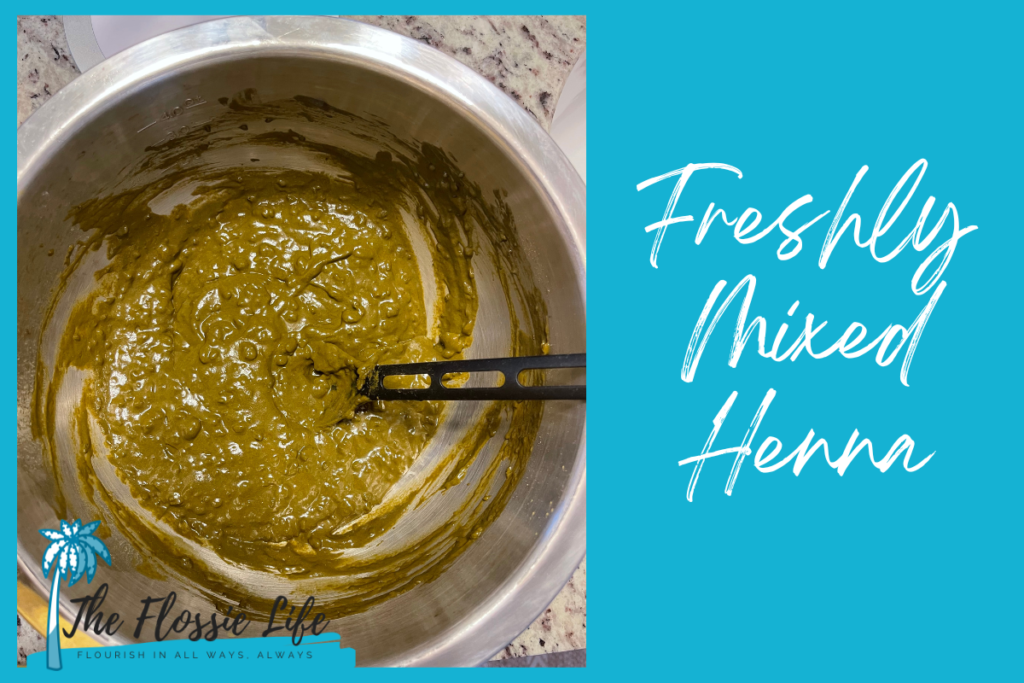
The image to the left shows my henna prep materials. I use a metal mixing bowl. This one is part of a set of mixing bowls with a lid that my sister bought years ago. Much to her chagrin, this is my bowl now. LOL I use a metal bowl because it’s easy to clean and the henna won’t stain it. A glass bowl would also work. 

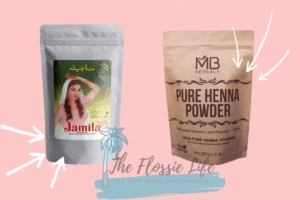
I picked up the NuPur 100% henna from the Indian grocery near my parent’s house. I also found it on Amazon and included it in the list of links below. I’ve purchased other brands from Amazon before. You can see a snapshot of them below. 


For your convenience, I’ve linked all of the materials that I used in this step below. Note: I will earn a small commission if you decide to purchase via the links in this blog. Thanks in advance for your support!  

How I Henna My Hair – The Process In Pictures
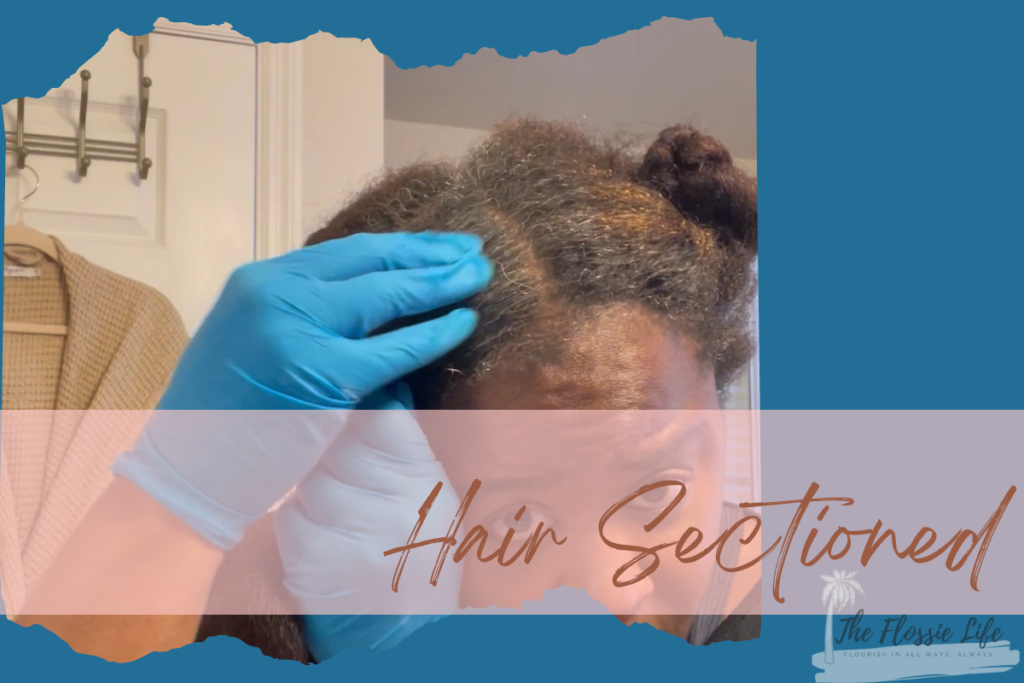
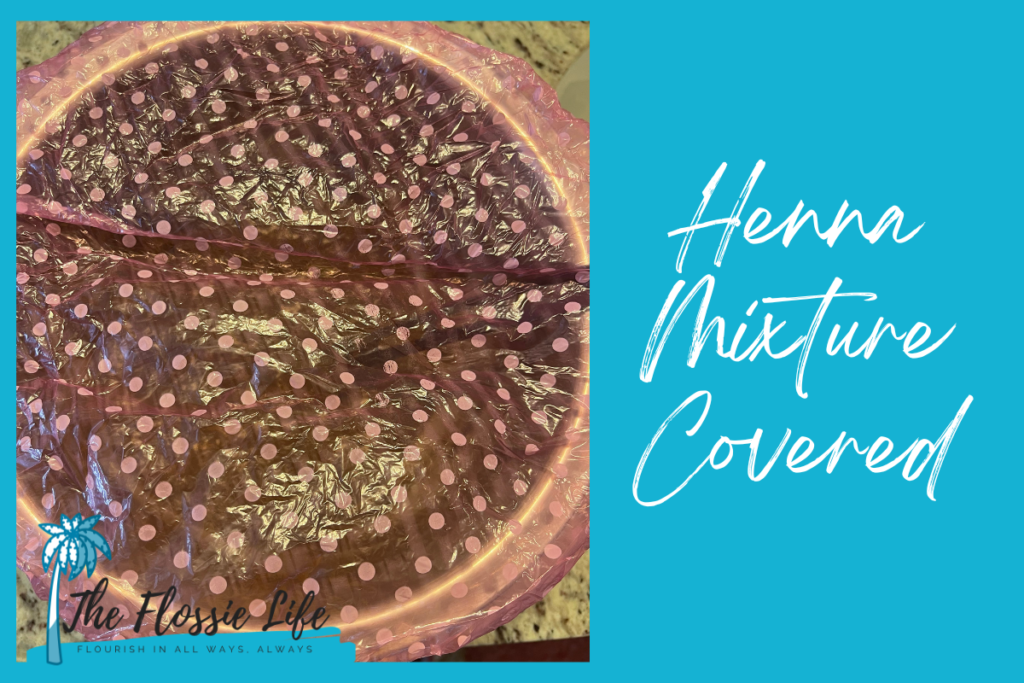
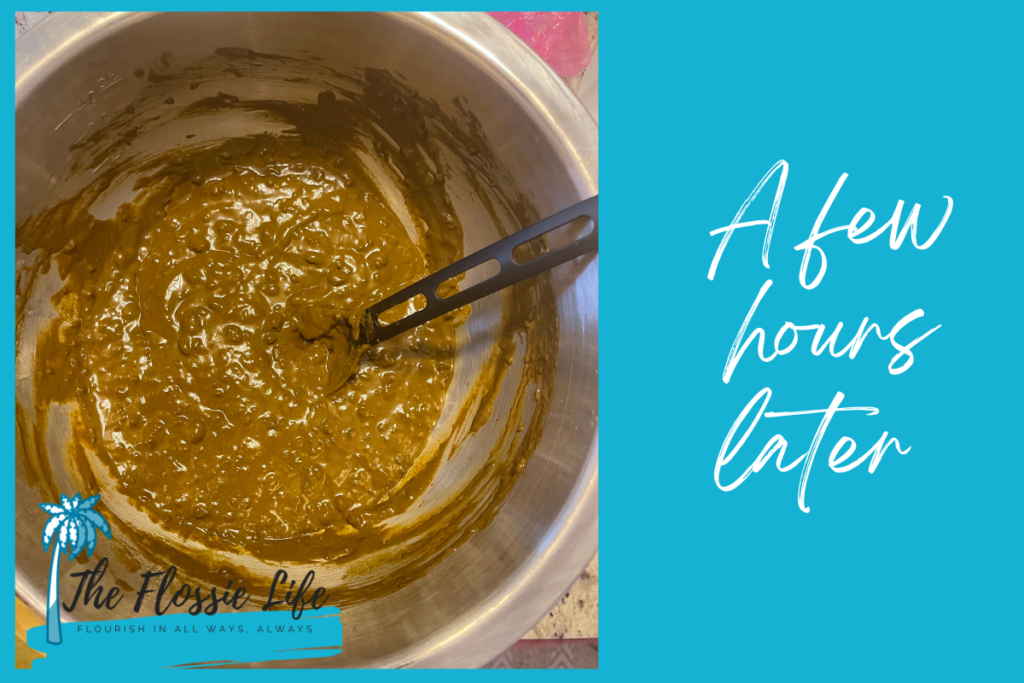
I use a pure henna powder, pure amla oil and water for my mixture.
I divide my hair into about 6 small sections. Say goodbye to those grays!
I apply to the roots of each section first.
Once I’ve applied the henna mixture to each section; I go back and apply more to the length of my hair.
I make sure to give each section lots of love. Any extra henna mix gets slathered on.


Once it’s fully applied throughout my head, I let it sit for a few hours.
This is freshly rinsed hair. No product, pre poo and conditioner.
Before and After. The after is freshly shampooed hair that has been conditioned and has leave in applied.
I use a pure henna, pure amla oil for my mixture.
I divide my hair into about 6 small sections. Say goodbye to those grays!
I apply to the roots of each section first.
Once I’ve applied the henna mixture to each section; I go back and apply more to the length of my hair.
I make sure to give each section lots of love. Any extra henna mix gets slathered on.


Once it’s fully applied throughout my head, I let it sit for a few hours.
This is freshly rinsed hair. No product, pre poo and conditioner.
Before and After. The after is freshly shampooed hair that has been conditioned and has leave in applied.


How I Mix My Henna

I start by pouring about a cup of henna powder into my mixing bowl. Then, I add about a quarter cup of the Amla oil. I mix the oil in just a little and then add enough water to bring the mixture to the consistency of hummus. It should be a thick batter that is easily spreadable but not so wet that it drips all over the place. Pancake batter consistency would be a little too viscous. The conditioning properties and color deposit would probably still be good, but, to minimize the mess a thicker batter is better. 
Once it’s mixed just right, I cover the bowl with a shower cap and let it sit for a few hours. After about 2 or 3 hours, the green mixture has turned a reddish brown color and is ready to apply. 

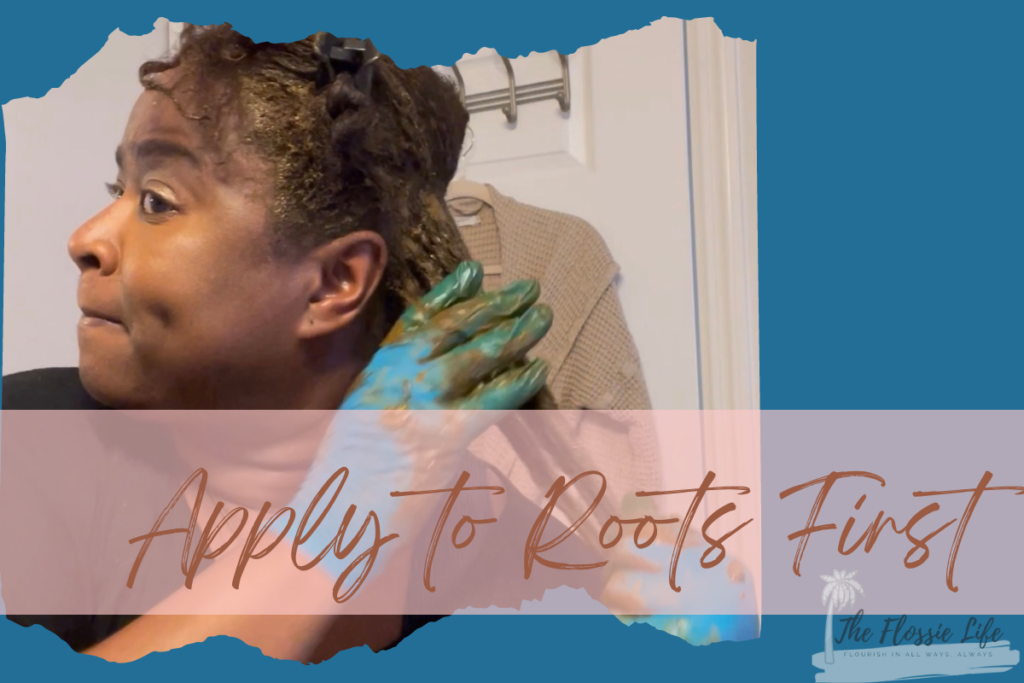
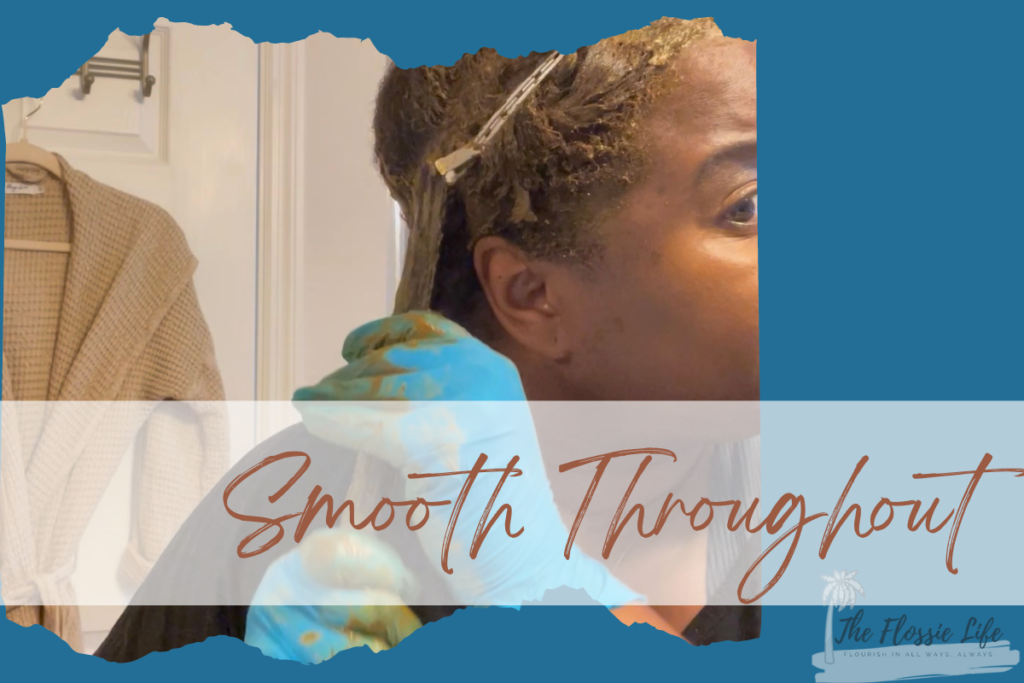
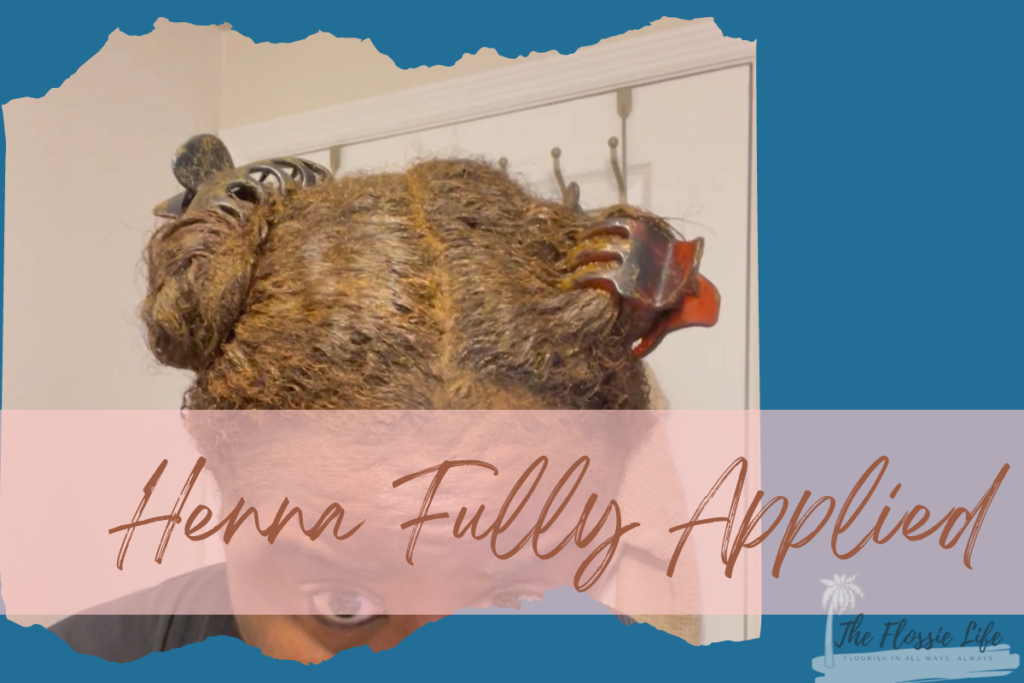
How I Apply the Henna to My Hair  

I begin by parting my hair into four to six sections. If you’ve ever applied your own color or relaxer, this part will seem familiar. Using a brush applicator, I smooth the henna mixture onto my new growth. I proceed section by section until all of my new growth has been addressed. Then, I go back to the first section and tarting apply the mixture on the length of my hair. I smooth the entire section until every one of my strands is fully coated going section by section until my whole head is covered from roots to ends. I wipe the excess henna from my hairline and nape, then cover my head with a shower cap. I only cover my head to prevent any henna bits from dropping all over my house. While the henna is working on my hair, I clean up the area and just chill for about three hours. After about two hours, I can see that the henna has already begun to color my grays.  

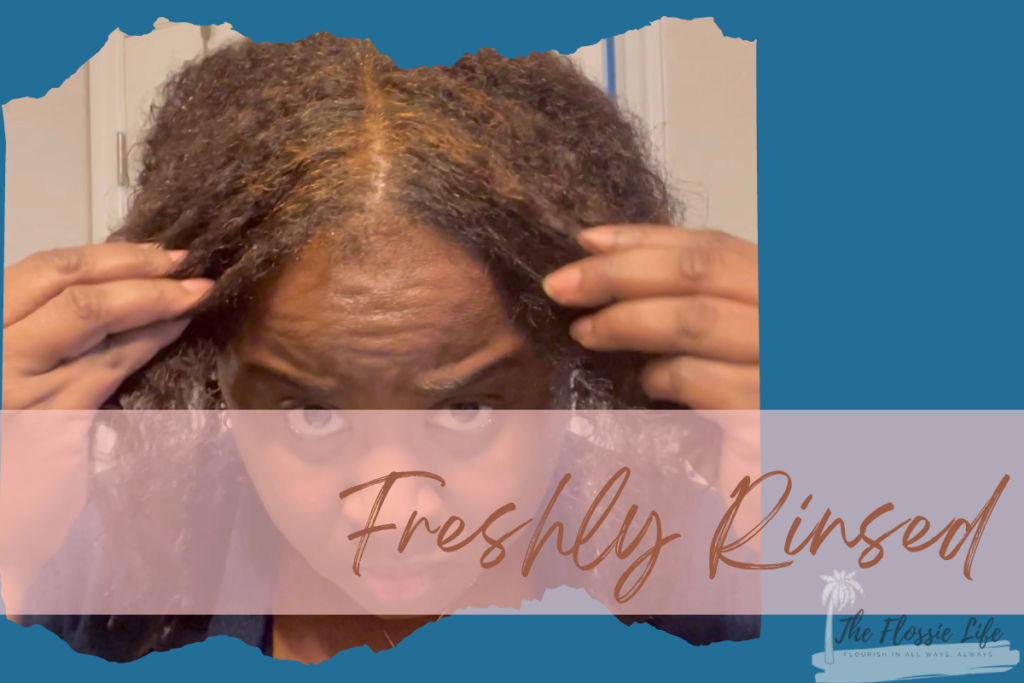
How I Rinse the Henna from My Hair  

The rinse out process is where it gets messiest. If you can have someone help you wash your hair in a stainless steel sink, do that. If not, be prepared to clean your sink or shower immediately as the henna WILL stain your porcelain and tile if it sits for just a minute too long. Going section by section, under running water, I rinse the henna out of my hair. I take special care to get my hairline, in and around my ears and my nape. After sitting on my hairline for hours, the henna will be crusty on my skin so I have to make sure I get it all. After rinsing out the henna, I slather

Silicon Mix which isa ridiculously moisturizing conditioner. I just put my hair in a top knot or twists for a couple of days. Eventually, I’ll shampoo and go back to styling as normal. One of the things I love about a protein treatment is that afterwards, my curls are poppin’. I start to see new growth in about 2 weeks and in about a month, I have more than enough new growth to re-apply. 


The Wrap Up

The key to minimizing the mess when you henna your hair is cleaning up immediately. If you see some henna has fallen on the floor or tile in your bathroom, clean it quickly. Henna will leave a permanent stain. Wearing gloves helps it to not stain your hands as much. But, if your hands do get stained, use a lemon and sugar scrub to get it off. Otherwise it will fade over a few days. But, it’ll take longer to get the stains from your nails. Don’t henna in your good clothes. I have a dark towel and dark t-shirt for when I henna my hair. The henna discoloration won’t show on those items so I keep alternates handy.

If you’re thinking about applying henna to your hair make sure you do your due diligence. While henna is a natural product, you could be allergic. Try a patch test on your skin/scalp before you use it. Henna is a permanent colorant. Some people mix their henna with other natural ingredients like black tea, indigo or other powders to get a darker, less red result. A really good resource for all things henna is Henna Sooq. Her website and YouTube channel have tons of information on mixes and she also sells really high quality products. This post is not sponsored by Henna Sooq. 

What are some of the hair routines that you do to keep your strands healthy and nourished? Are you going to try henna? If you do, tag me in your pictures. I’d love to see the results. 


Stay Flossie,

Lynnell

Leave a Reply

Your email address will not be published. Required fields are marked *

This site uses Akismet to reduce spam. Learn how your comment data is processed.